Prototyping: Guide For Designers
Paper, digital and native prototypes
We design products through a series of trials and errors. But where the errors happen is very important. An error that occurs after you release a product on the market can negatively impact your business. Luckily it’s possible to avoid that using a tool called prototype.
In this guide, I want to discuss what a prototype is, the different levels of fidelity (or realism) that a prototype can have, and three different types of prototypes.
Prototype is not
The term “prototype” is used in many different contexts, so it can be difficult to understand what it really is. The prototype is not a sketch, wireframe, or mockup.
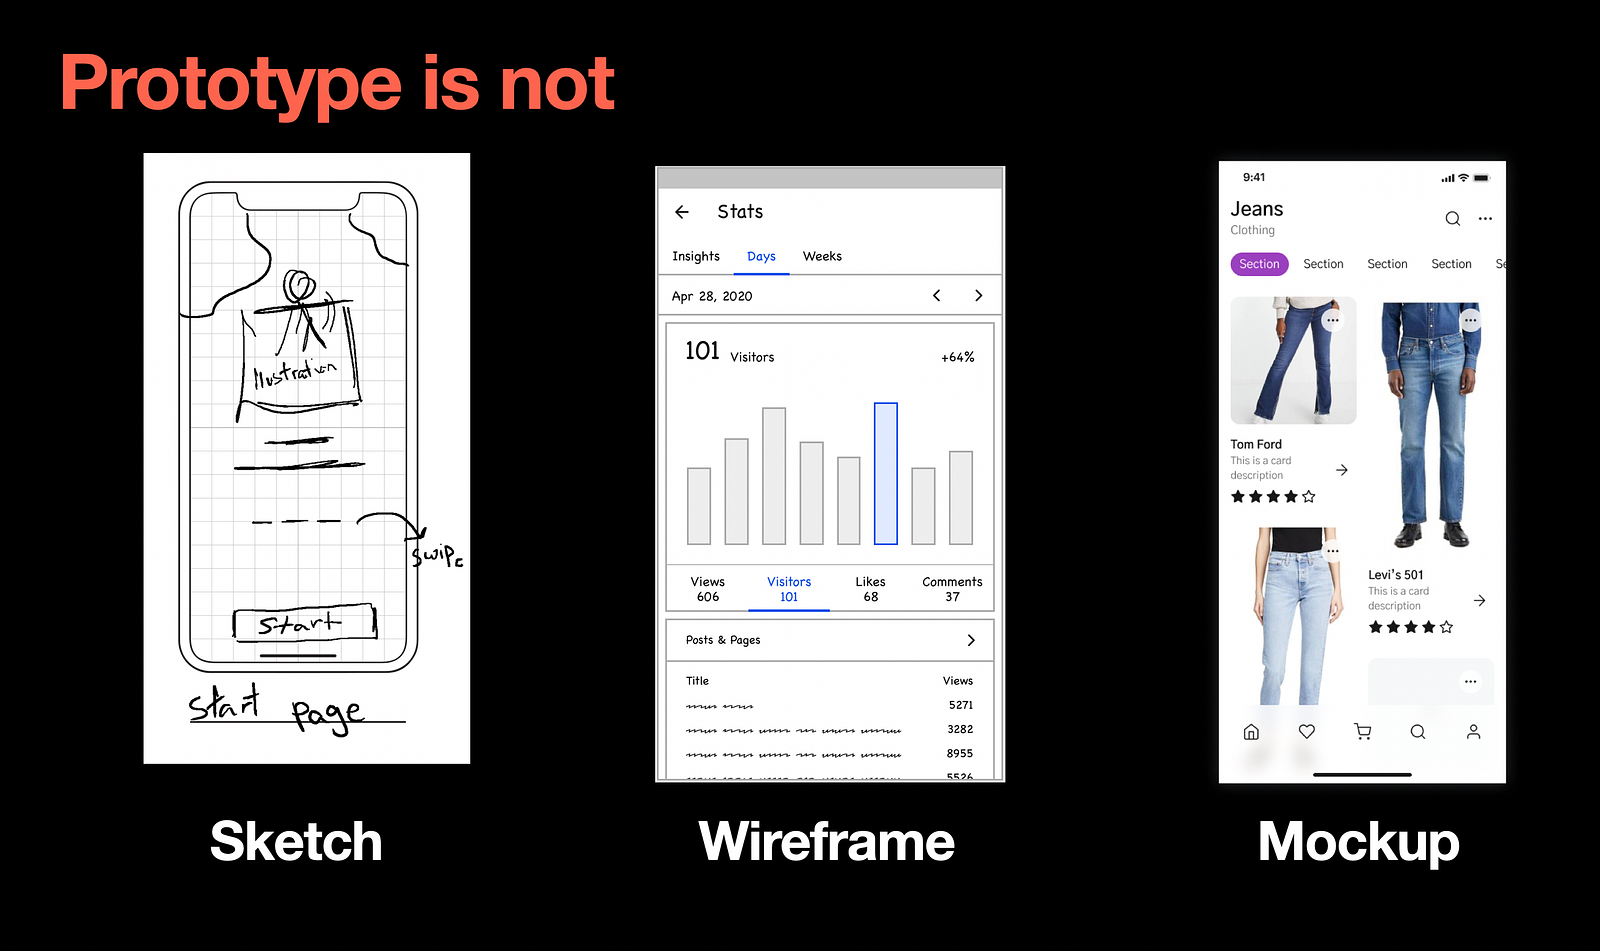
These design artifacts are static. Prototypes, on the other hand, are always interactive.
Prototypes are simulations of how the future product will work. They allow people to interact with a design.
Why designers should create prototypes
Prototyping can improve the design process in a few ways:
- Test the usability and feasibility of your design. Prototyping will help you lower the risk of creating a product that will fail on the market. Once you have a prototype of your product, you can validate it in real-life scenarios to see how well it works for your users.
- Simplify design handoff. Prototypes can be very useful when you share a design with the engineering team, especially if your design has complex motion language. When developers can see animated transitions rather than read about them in the specification, they will be much more likely to implement the transitions as intended.
- Explore problem space. Prototyping will help you to explore the problem space. Prototypes will help you better understand the problem you’re solving in design.
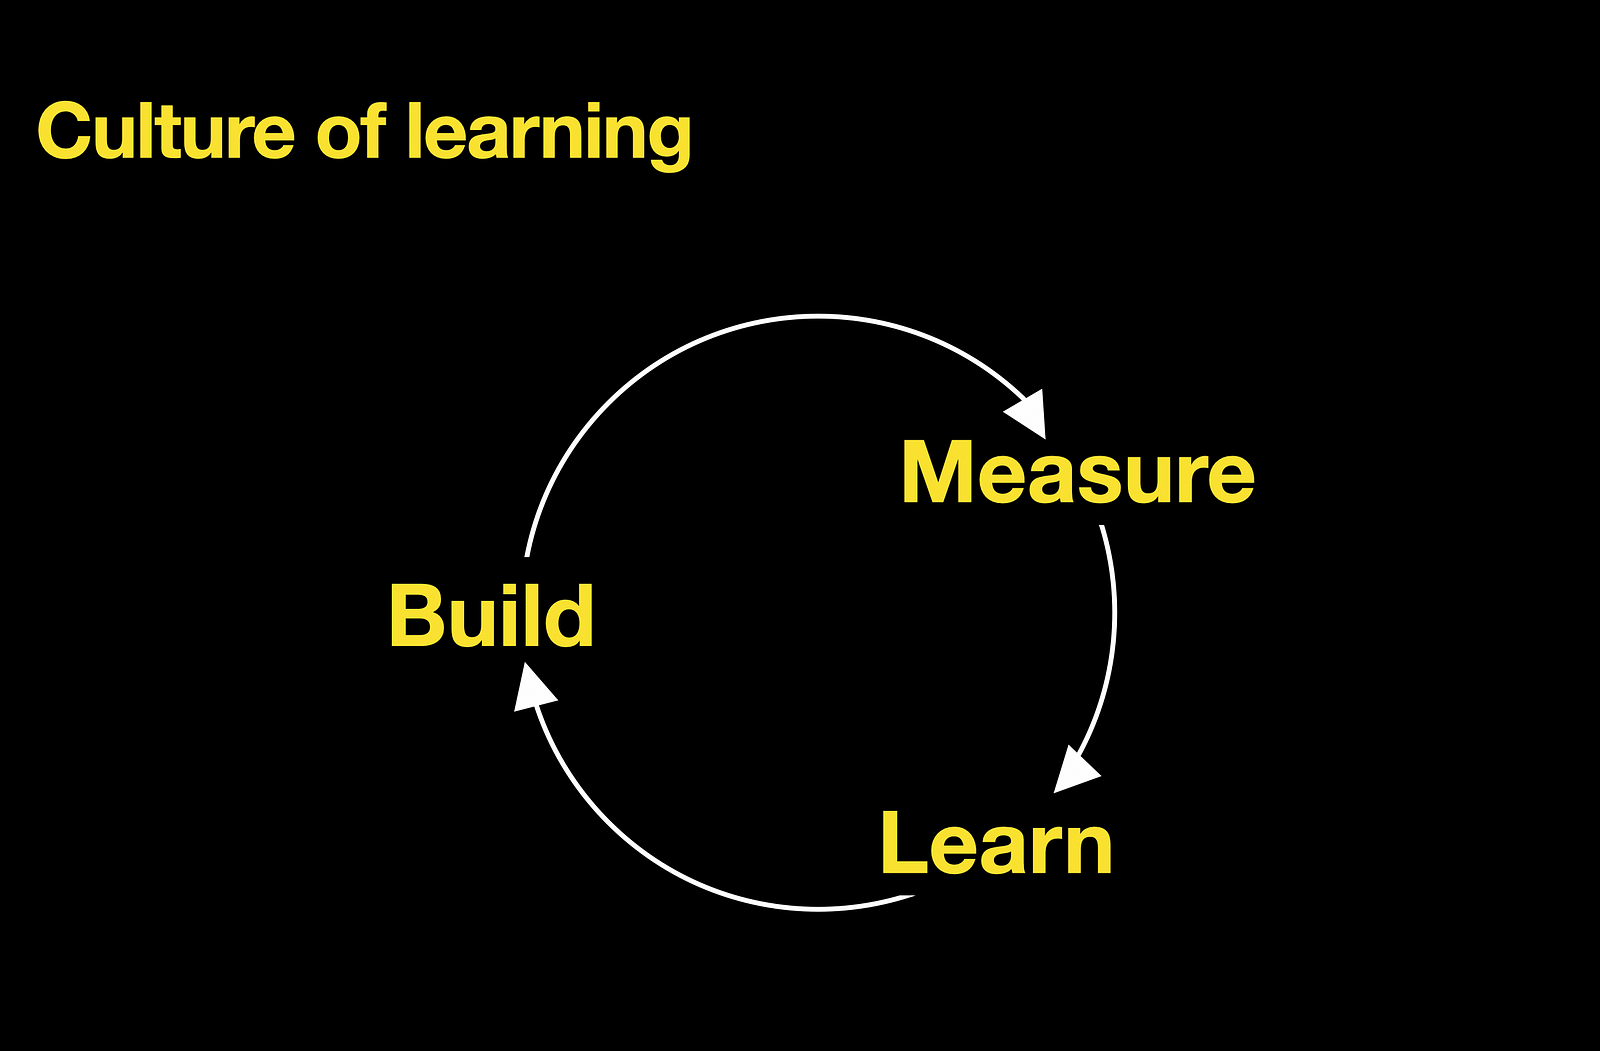
Prototyping will change your design culture
Prototyping can also change your design culture. When we discuss ideas during brainstorming sessions, we often try to understand who is right and who is wrong. The culture of “right and wrong proposals” creates tension in a design team. Even when you win a battle and convince everyone that your proposal is the right one, you still feel a lot of pressure because you know you had to fight for your design.
When you integrate the practice of building a prototype into your design process, you will create a culture of learning. The culture of learning makes you stop thinking about who is right or wrong, and you start to think about how fast you can validate your solution.
Prototyping makes ideas tangible so you can put them in front of other people and let them interact with your solution. A prototype doesn’t have to be fancy. Many times it is possible to validate a hypothesis using low-fidelity prototypes. The more you learn, and the faster you will iterate, the better your design process is.
Prototypes and level of fidelity
Fidelity is the level of realism that your prototypes have. When people hear the word “prototype”, they tend to imagine a model of a product that looks and works almost like a finished product. In reality, the level of fidelity of a prototype can vary from low-fidelity prototypes with bare minimum details to high-fidelity ultra-realistic prototypes.
While high fidelity prototypes can look like this. It looks and works almost like a finished product.
So, how to choose the right level of fidelity?
The fidelity of your prototype should be selected according to the goal you want to achieve.
For example, suppose you’re at the early stages of the product design process and want to evaluate your product’s navigation scheme. In that case, you don’t have to create high-fidelity prototypes. You can make low fidelity prototype out of your wireframe and test the scheme.
You should always set a clear goal that you want to achieve before creating a prototype. Each prototype should be created for a reason (i.e. explain a specific idea, validate a hypothesis). When a product team knows the reason, this knowledge helps build a prototype that matches that purpose.
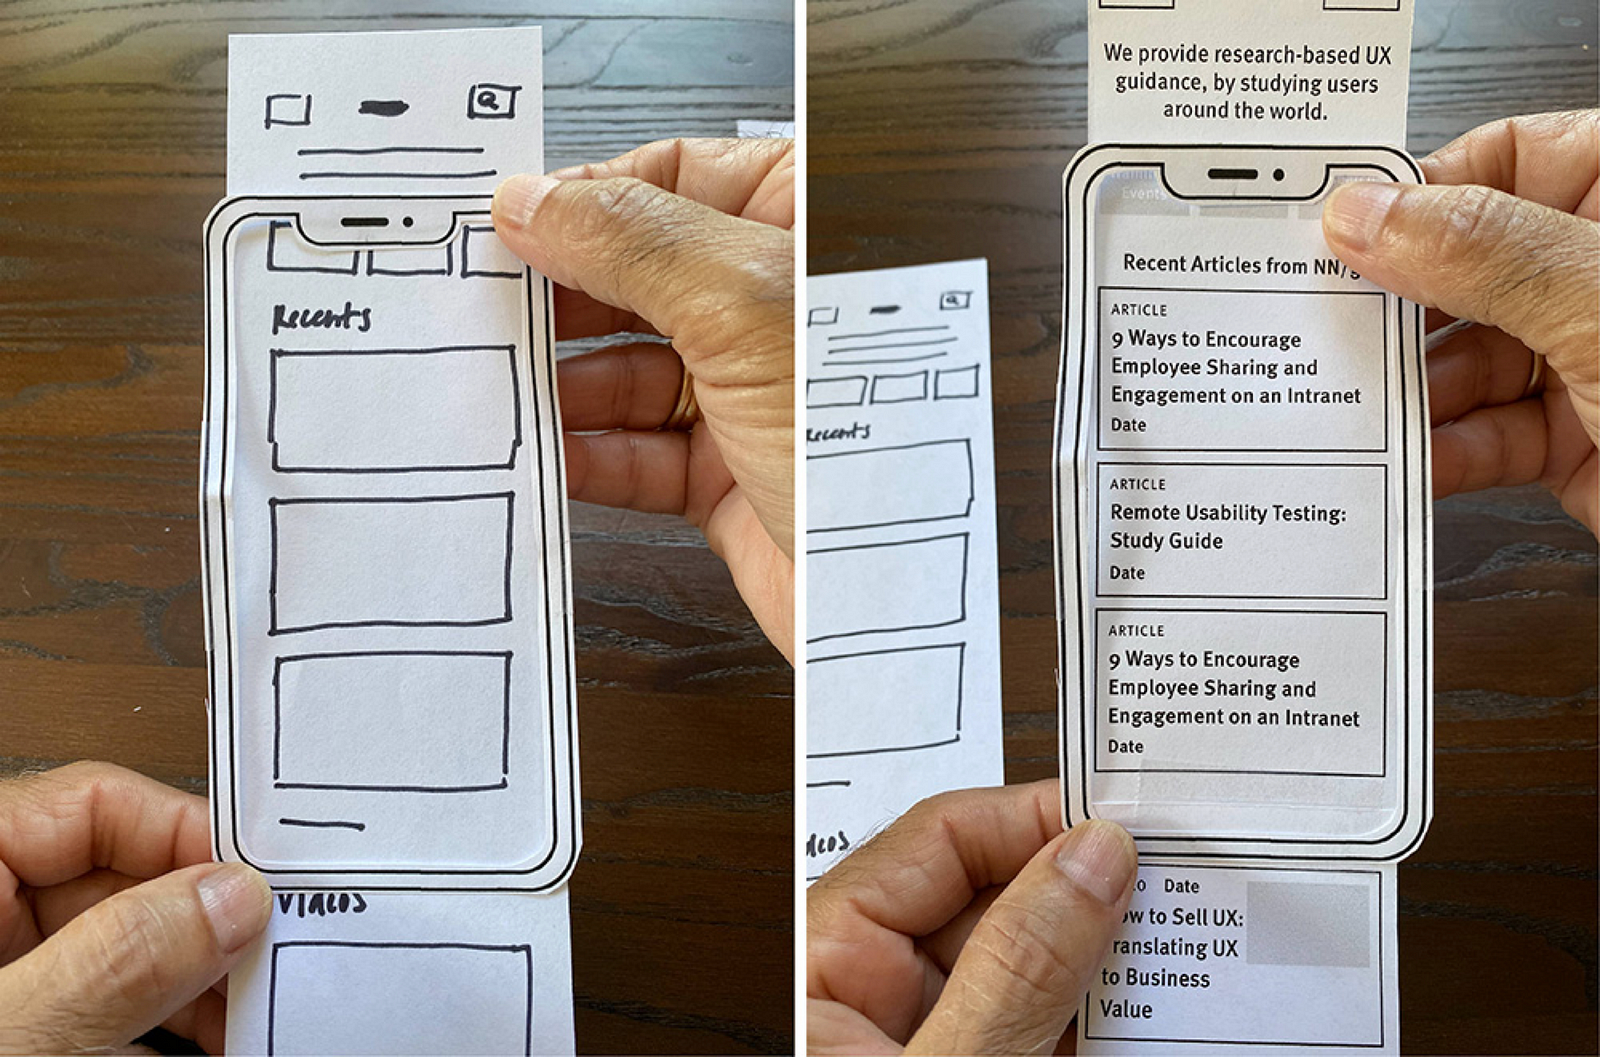
Paper prototype
A paper prototype is the simplest version of a prototype. You can create paper prototypes using hand-drawn sketches or printed versions of low-fidelity wireframes.

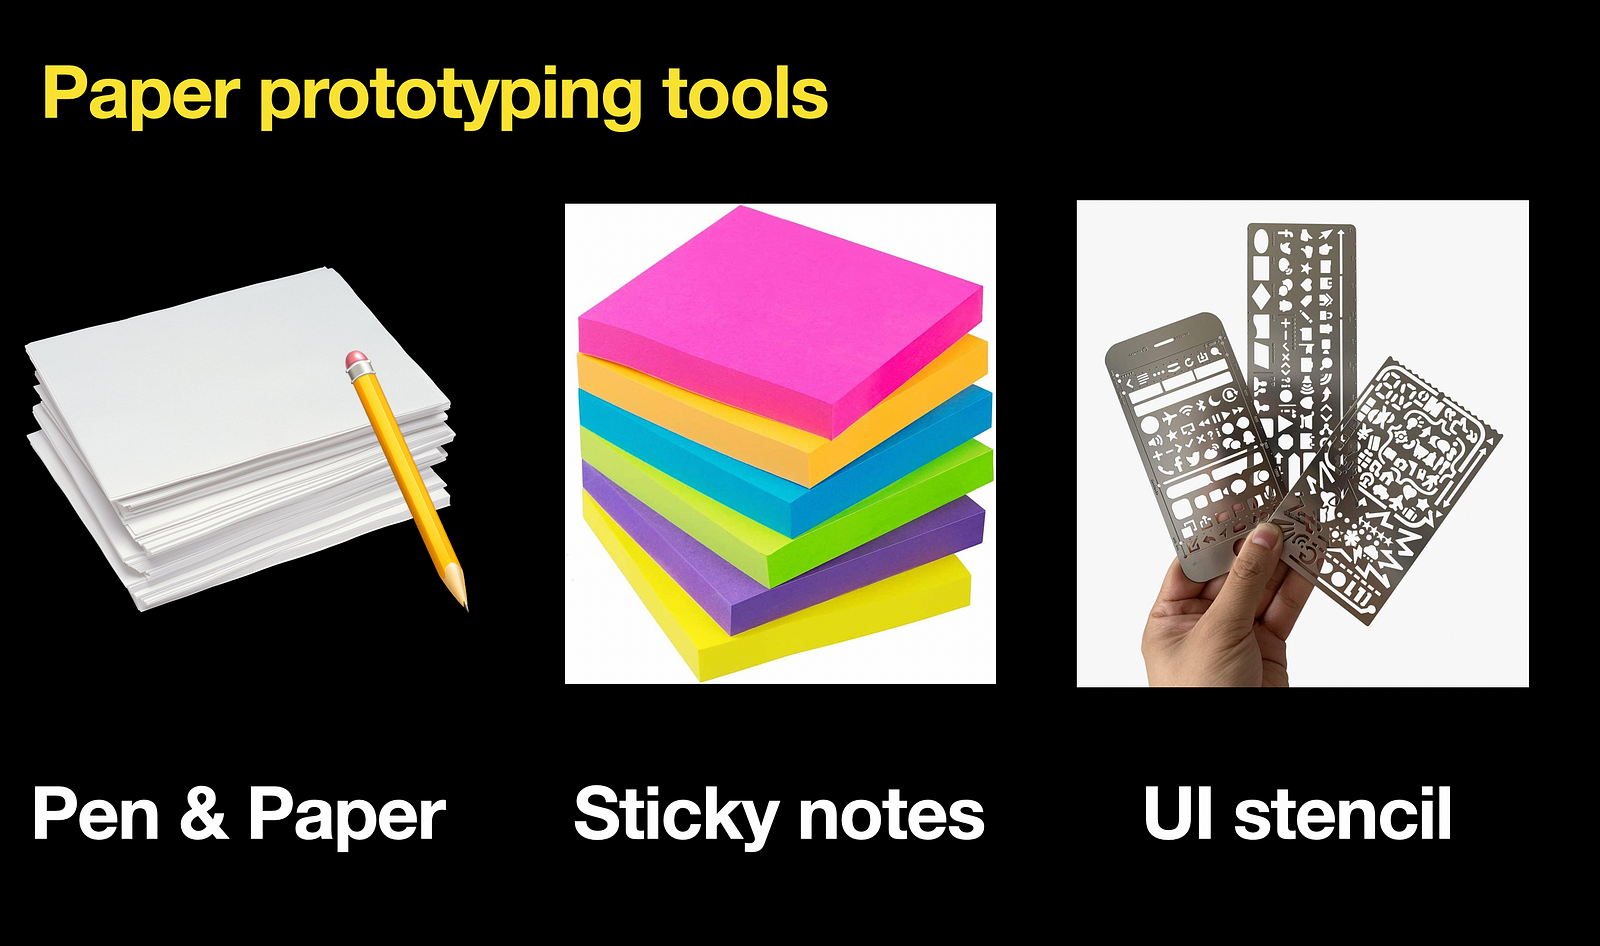
Paper prototyping tools
All you need to create a paper prototype is a pen and paper. But you can also add sticky notes and UI stencils to your toolbox to speed up the prototyping process. You can add commonly used elements, such as a menu on sticky notes, and move them from one paper sketch to another.
When to create a paper prototype
Paper prototyping can be extremely helpful during the early-stage conceptualizing — when a team needs to explore various concepts and choose the one that will be used. When the team ideates potential solutions, the paper prototype allows it to visualize and tests multiple ideas quickly.

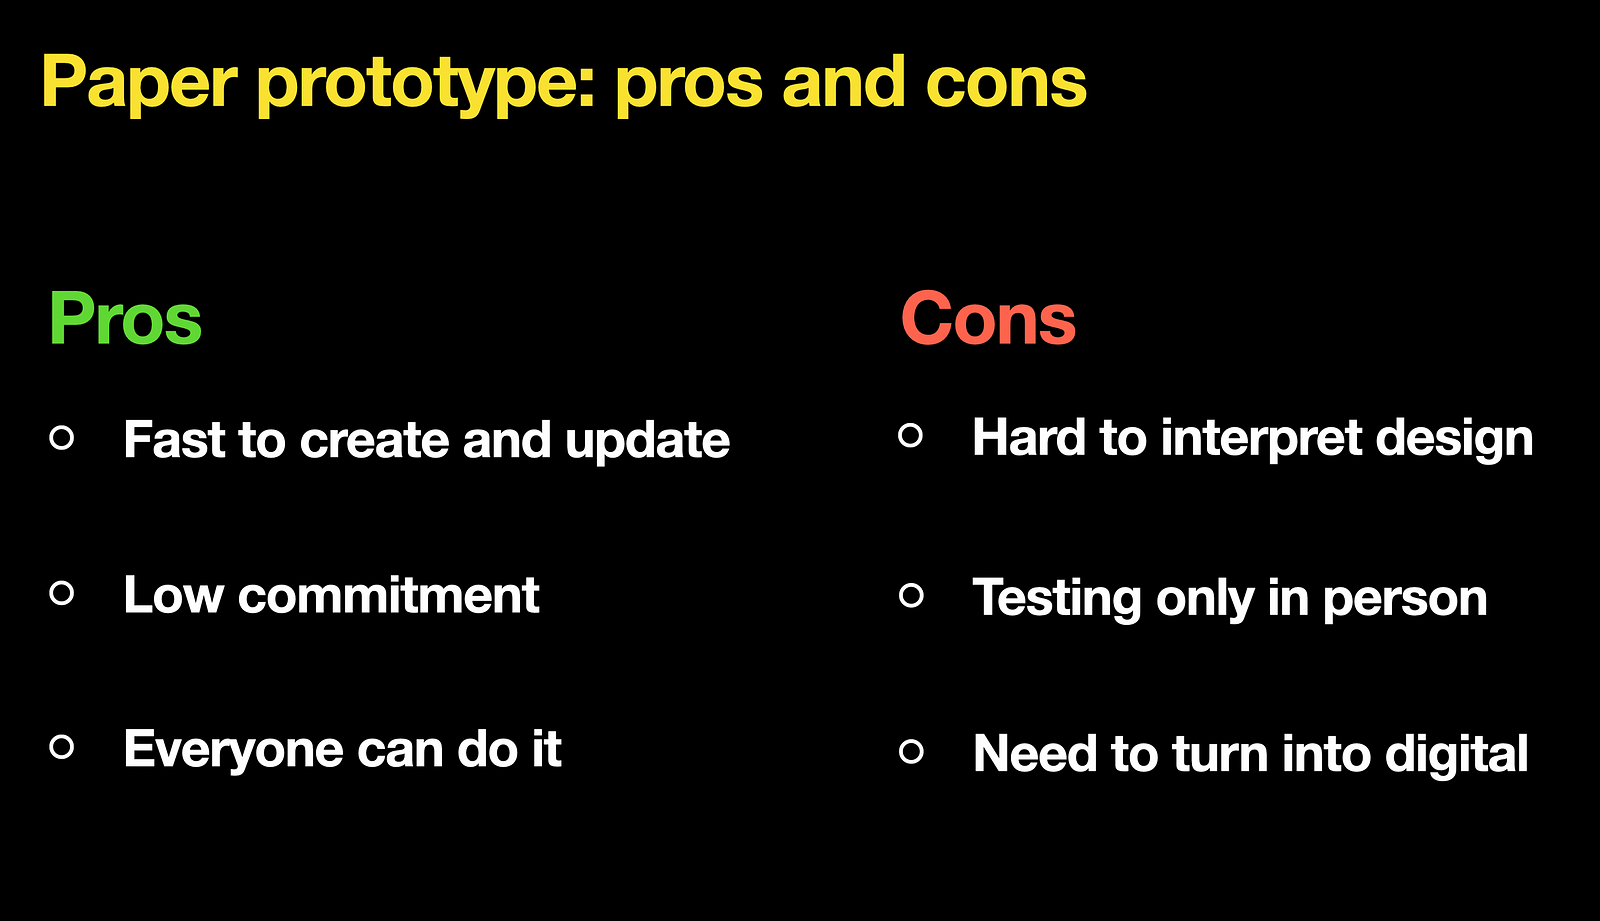
Benefits and downsides of paper prototyping
Paper prototypes have the following benefits:
- Fast to create and update. It takes a few minutes to create a paper prototype. Because it’s a paper, you can immediately introduce a change in a prototype once you see that something is not working for your users.
- Low commitment. The team doesn’t stick to paper prototypes. It’s easy to throw out a paper prototype that takes only 5-minute to create.
- Everyone can create paper prototypes. Paper prototyping doesn’t require any special skills. As long as you can sketch, you can create paper prototypes.
But paper prototyping also has some downsides:
- It can be hard to interpret the design. Paper prototypes require a great deal of imagination from people who will observe the prototype. People have to imagine how the future state of a product will look and work just by looking at the paper.
- Paper prototypes can be tested only in person. You will need to have two people during the testing — a facilitator and a human-computer. A facilitator is a person that instructs test participants and interacts with them. ‘A human computer’ is a person that remains silent during the session. This person is in charge of changing screens or screen states whenever the test participant interacts with a prototype.
- Need to turn into a digital format. Paper prototypes will be transferred into a digital format anyway.
Digital prototypes
The critical problem with paper prototypes is that you often have to explain ideas to the people who interact with prototypes. But explaining ideas can be challenging, especially when we’re talking about innovative design. It is much easier to allow people to interact with a product themselves so that they can form their impressions. Digital prototypes allow precisely that.
Digital prototyping is a process of building an interactive experience. Digital prototypes look like this one:
Digital prototyping tools
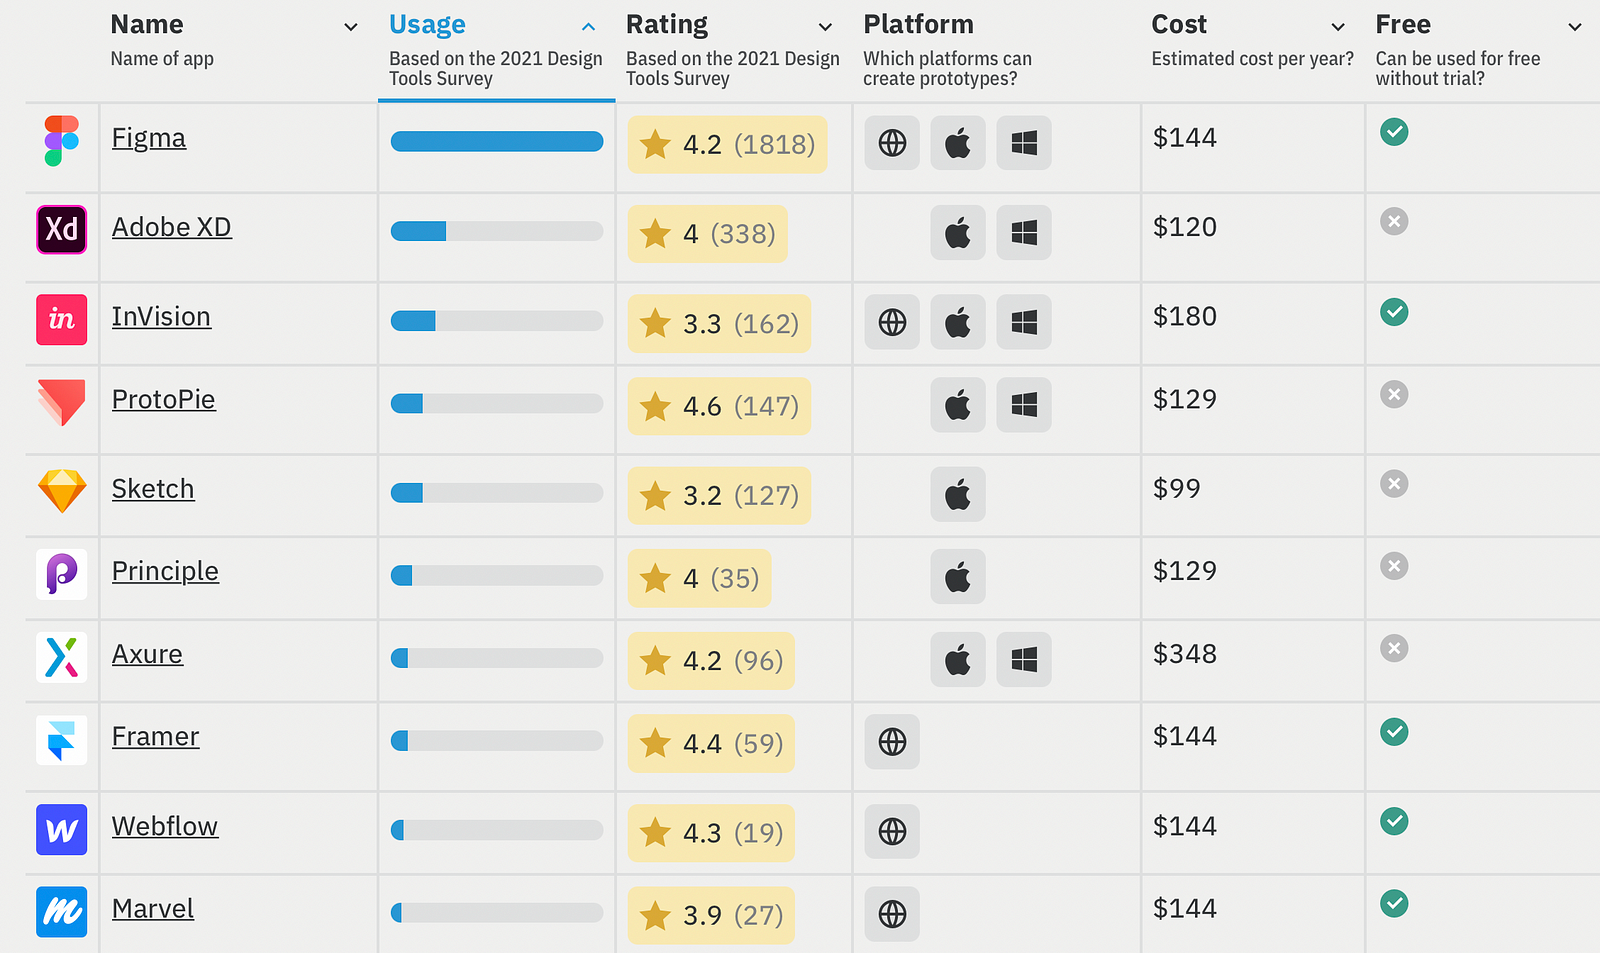
Digital prototypes are created with special tools. Here is the list of the 10 most popular prototyping tools in 2022:
When to create a digital prototype
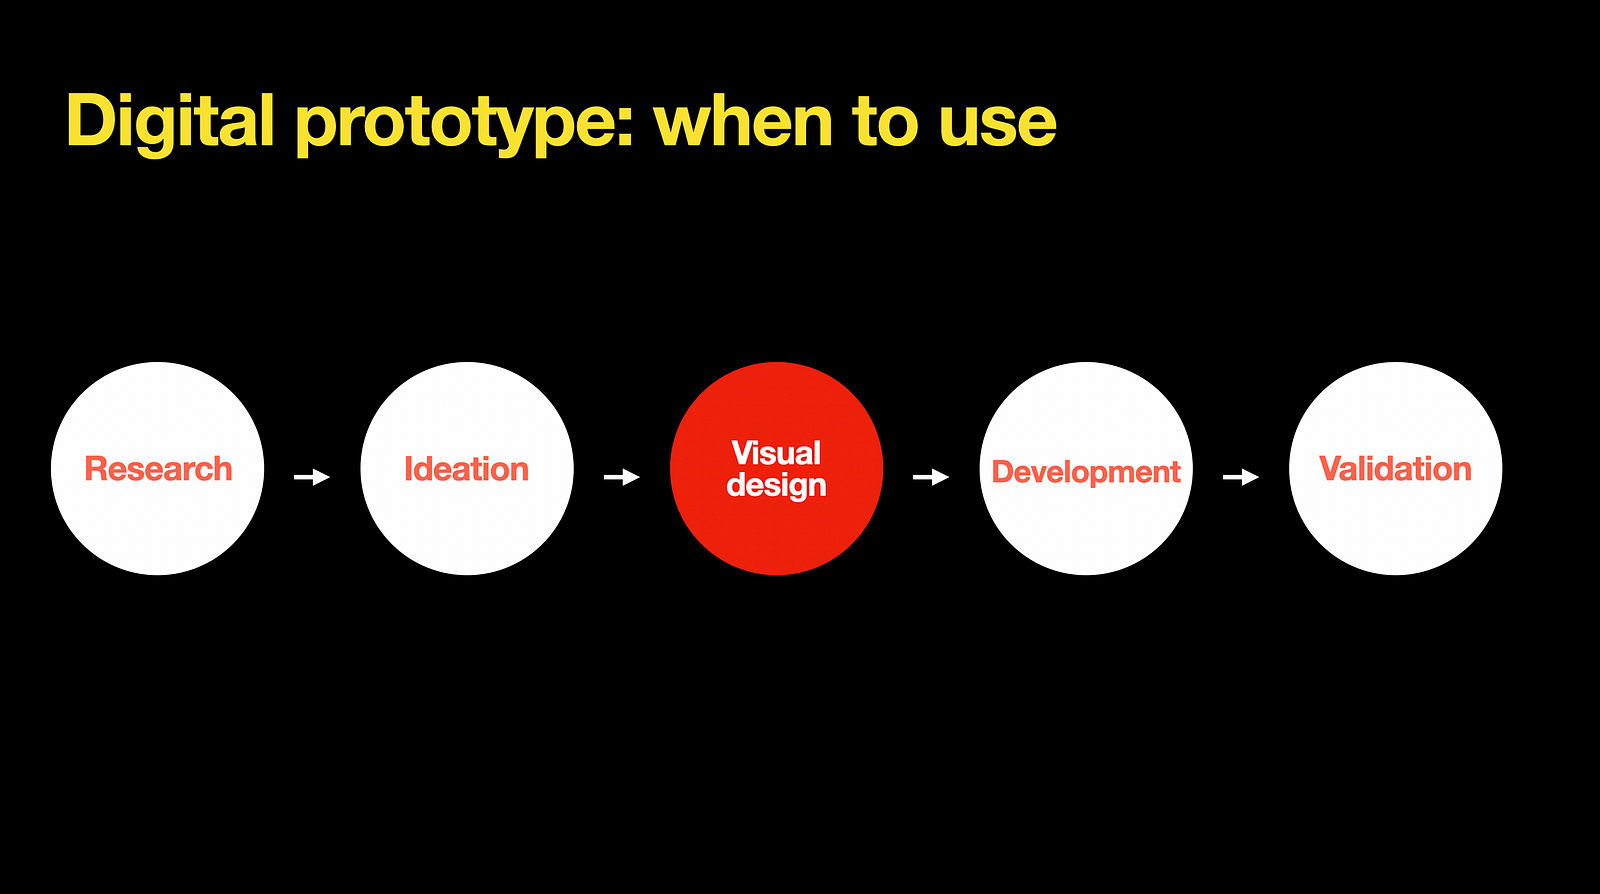
Digital prototyping typically happens during the visual design phase — when you have mockups with visual styles (colors, fonts, whitespace, etc) as well as realistic text copy and want to see how your design works in action.
Benefits and downsides of digital prototyping
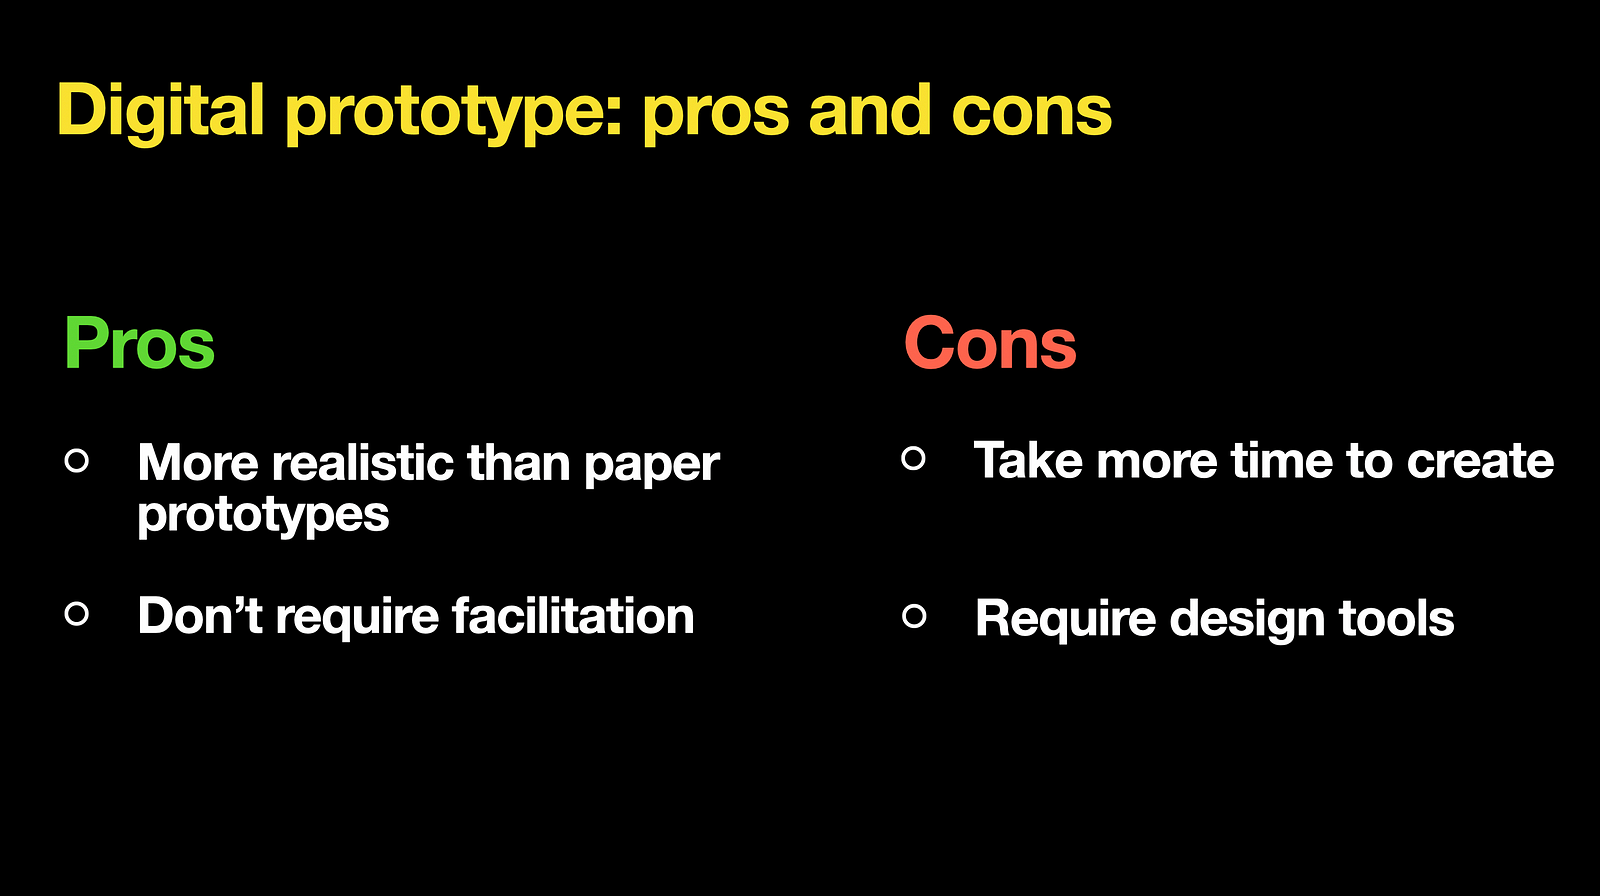
Digital prototypes have the following benefits:
- They are more realistic than paper prototypes. They give you a much better feel of how the final product will look like.
- Users can interact with digital prototypes themselves. This property makes digital prototypes great when you want to pitch your idea to stakeholders or conduct usability testing of your design with a target audience.
But they also have a few major downsides, such as:
- They require more time to create.
- Require design tools. You should use special design tools such as Figma or Sketch to create prototypes.
Native prototypes
Native prototyping is coding a model of your application or website. The problem of technical feasibility exists for almost any product. Not everything that designers create can be easily turned into code. But for projects when designers code and create native prototypes, the risk of facing problems with technical feasibility is much lower.
Native prototyping tools
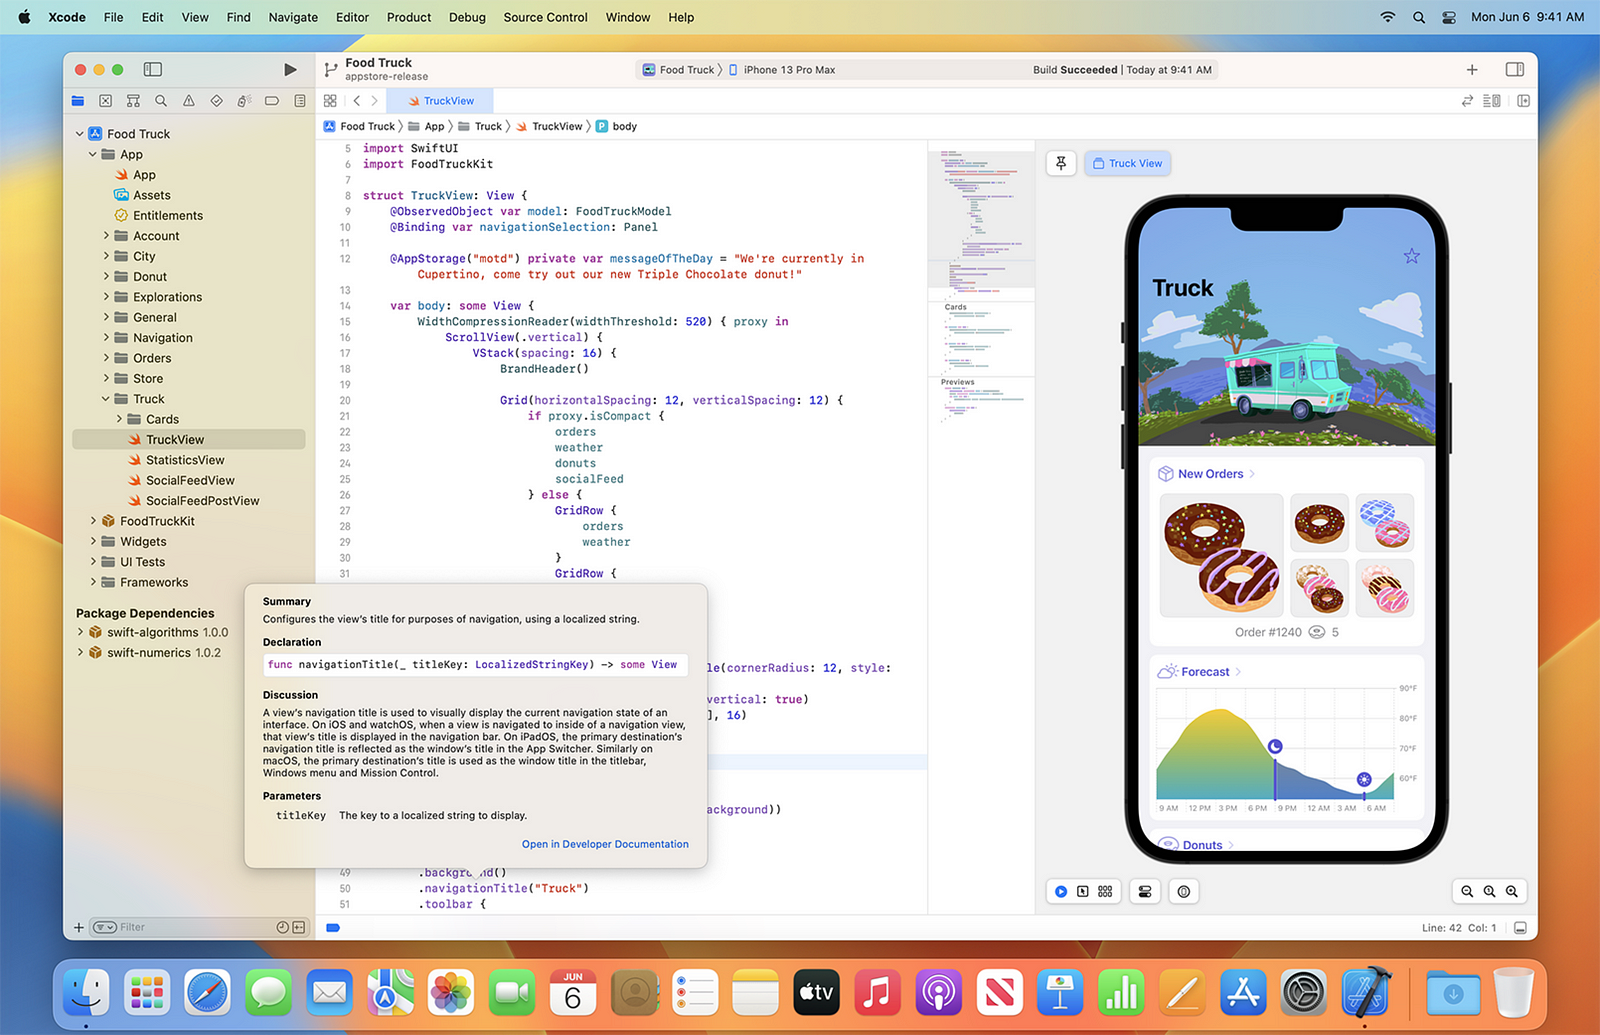
When you create a native prototype, you basically write code. The languages you use for coding will vary depending on the platform you’re building your solution for. For example, if we want to create a native prototype of an iOS app, we will need to write Swift code; if we want a native prototype of a website, we will need to use HTML, CSS, and JavaScript.
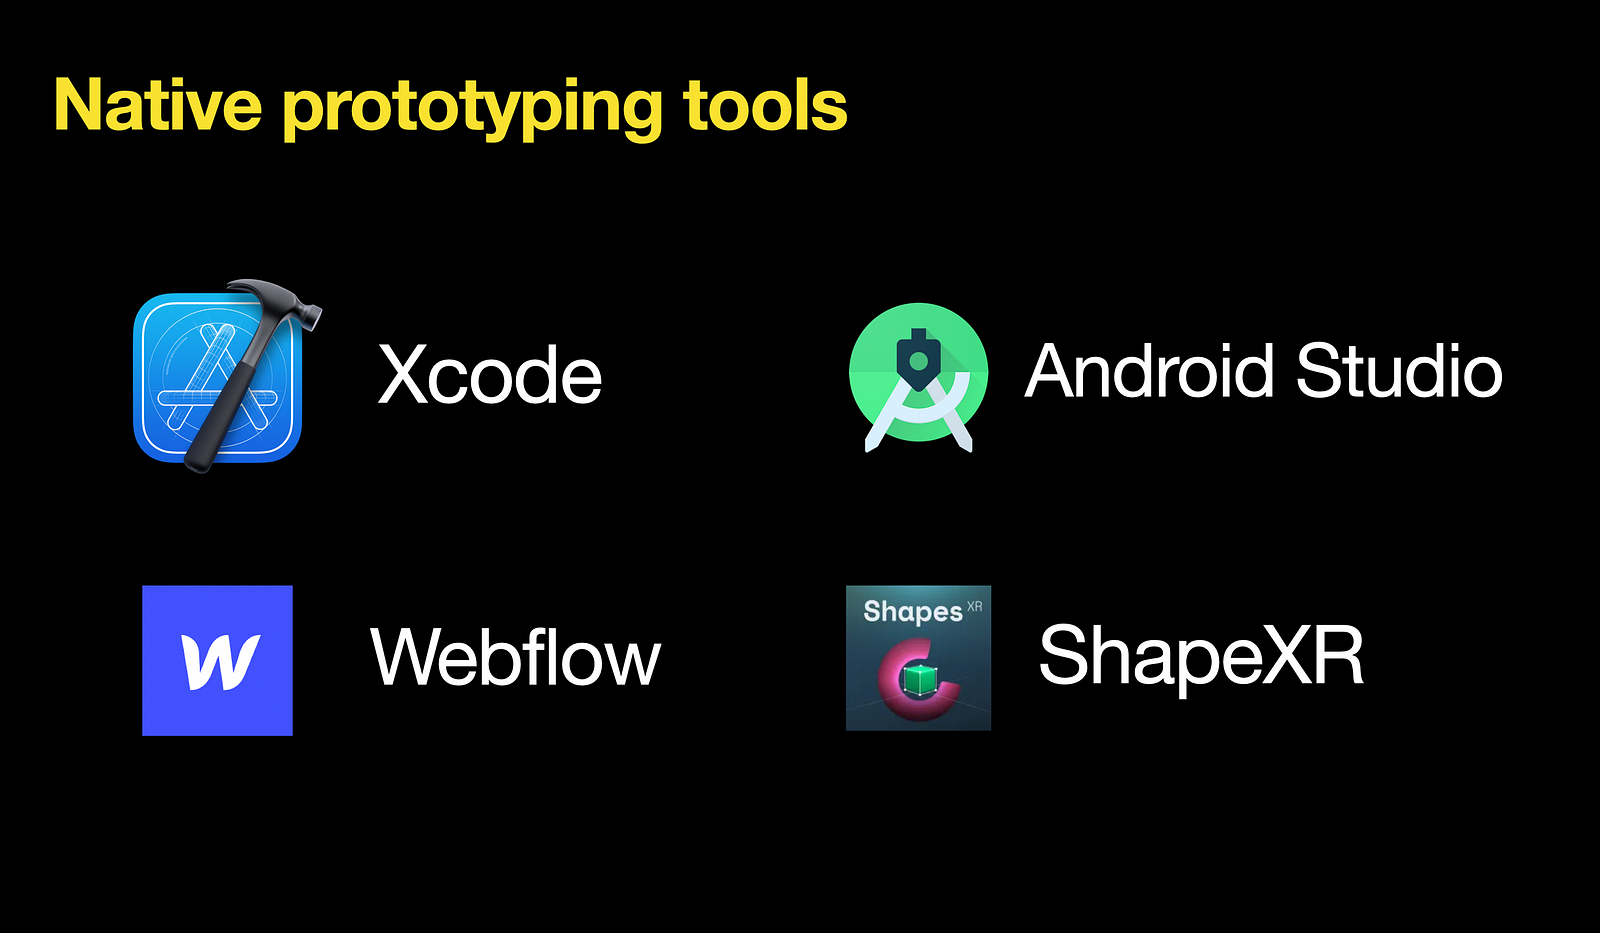
Here are a few popular native prototyping tools. Xcode is for iOS apps, Android Studio is for Android apps, Weblfow is for websites. And ShapeXR for VR apps.
When to create a native prototype
Native prototyping typically happens at the end of the product design process. After the visual design is ready but development is not started yet.
Benefits and downsides of native prototyping
Lets start with benefits first:
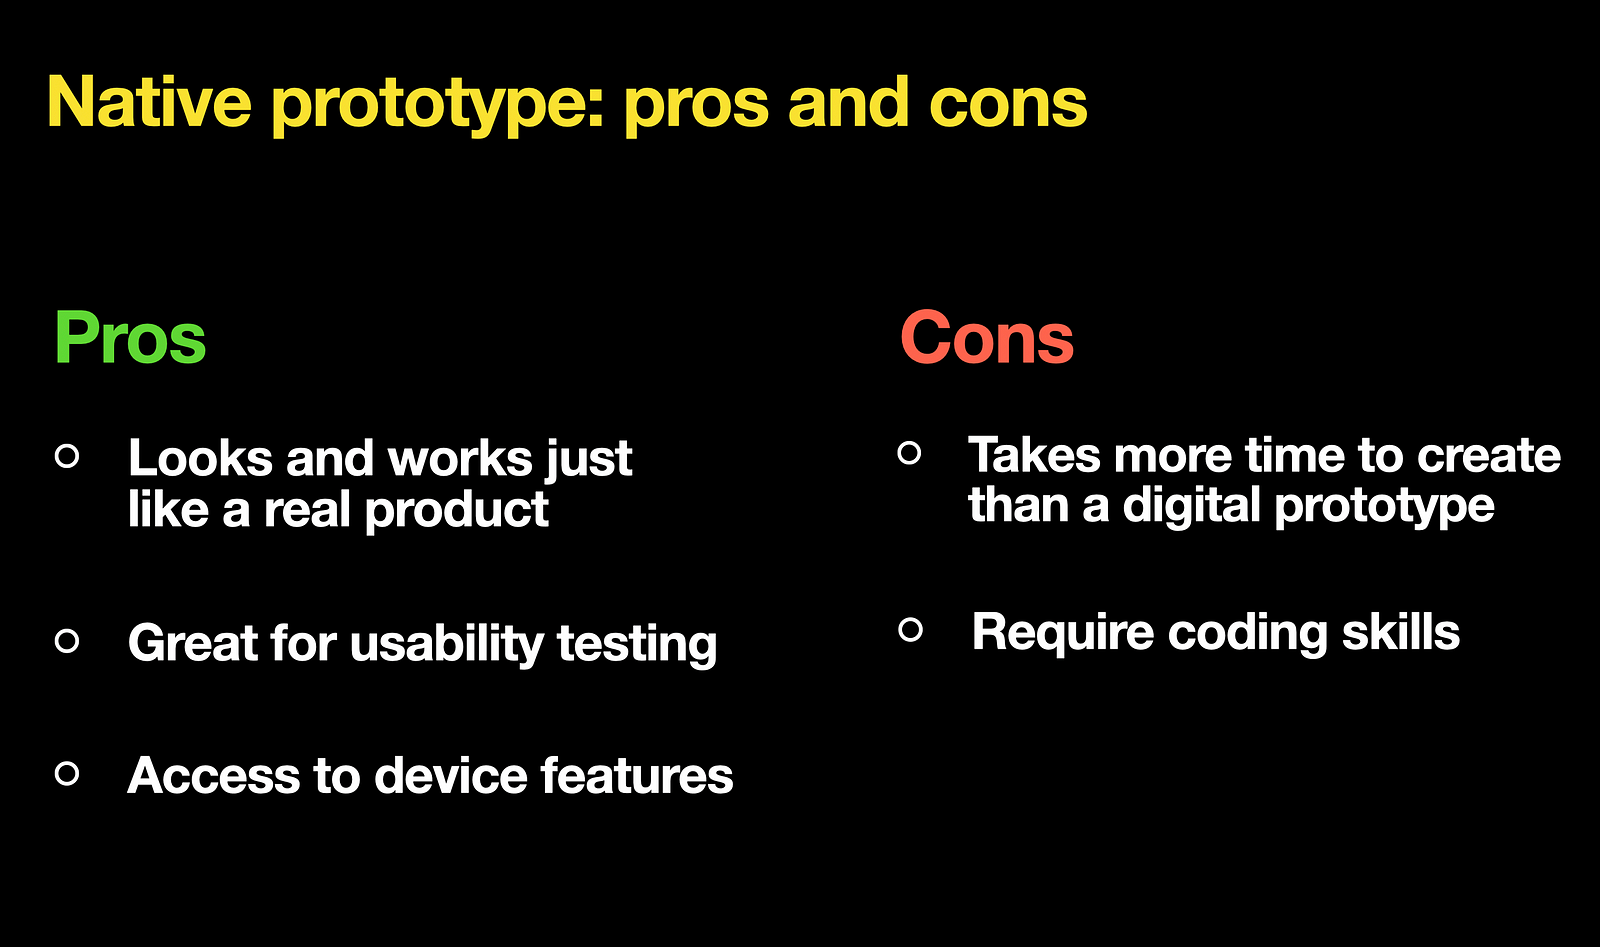
- Realism. The biggest benefit of having native prototypes is that they look and work almost like a real product. The prototype uses realistic or real data and you can test a prototype using real devices.
- Native prototype works well for usability testing. Test participants don’t see any difference between a native prototype and a real app. As a result, native prototyping allows you to understand the realistic experience that your users have and collect the most valuable feedback.
- Give you access to device features. Native prototyping allows you to utilize all the features of devices that will run your product. For example, if you prototype a mobile app, you will get access to features such as an accelerometer or gyroscope.
But this type of prototype has its own downsides too.
- A native prototype takes more time to create than a digital prototype.
- Require coding skills. Native prototyping requires strong technical proficiency. You need to know programming languages to build a native prototype.
At the core, prototypes are glances into the future. They help us understand how our future products will look and work and create a shared understanding about that. Prototypes will help you guide product design direction because they will support you with valuable insights on how people react to your design.